Diagnostic Tool Software Recovery (via Wi-Fi)
These instructions describe how to restore the diagnostic software back to the last licensed software version that was installed, via Wi-Fi.
All images and illustrations used in this document are intended as examples, and are for reference only.
Application
Diagnostic tools using 23.4 software or later, and equipped with the OTA (over-the-air) recovery application, this currently includes:
| ● | TRITON-D10 |
| ● | APOLLO+ |
| ● | APOLLO-D9 |
| ● | SOLUS+ |
Before You Begin
Before proceeding read these IMPORTANT notes.
| ● | This procedure may take over two hours to complete. |
| ● | A stable Wi-Fi connection is required. If the Wi-Fi connection is lost at anytime the process will start over. |
| ● | Do not power the tool off at anytime during the recovery process and keep it connected to the AC power supply. If the power is interrupted at anytime the process will start over. |
| ● | All the saved data files from the tool will be removed. Before proceeding copy all the files needed (saved data files) to a separate storage media. |
Instructions
| 1. | Power the tool on. |
| 2. | Connect the tool to Wi-Fi. From the home screen select Tools > Settings > Configure Wi-Fi, then turn Wi-Fi on and connect to your network. |
| 3. | Copy and transfer any all user data files from the tool (Code scans, screen captures, scan data, scope data, etc.) All User Data files will be lost if not copied off the tool before proceeding. See Coping Data Files to External Storage below for instructions. |
| 4. | Power the tool off. |
| 5. | Press and hold the Y and N buttons and power the tool on. |
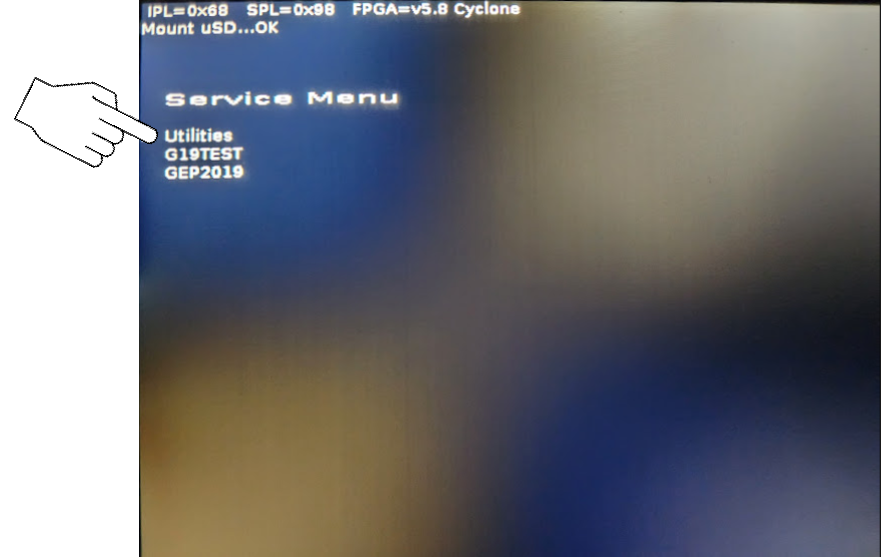
The Service Menu displays.
| 6. | Using the keypad, highlight Utilities and then press the Y button. |
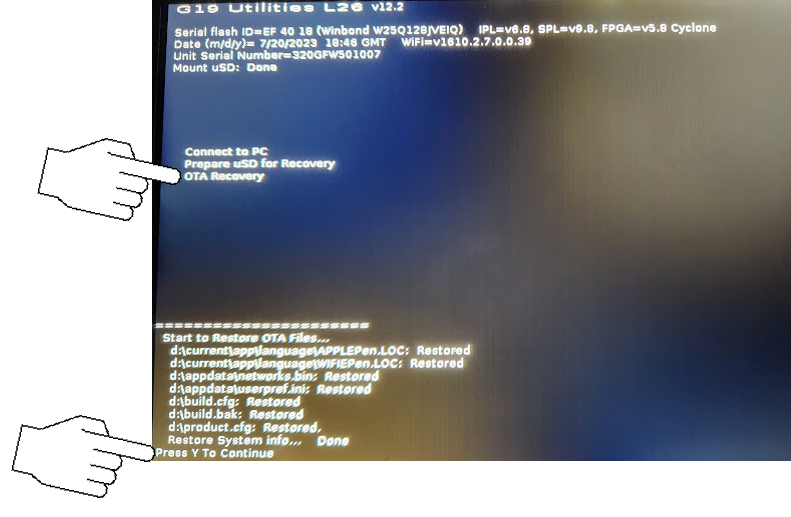
| 7. | Select OTA Recovery then press the Y button. Then follow the on-screen instructions, pressing the Y button to continue, and then the N button at the "abort" prompt. |
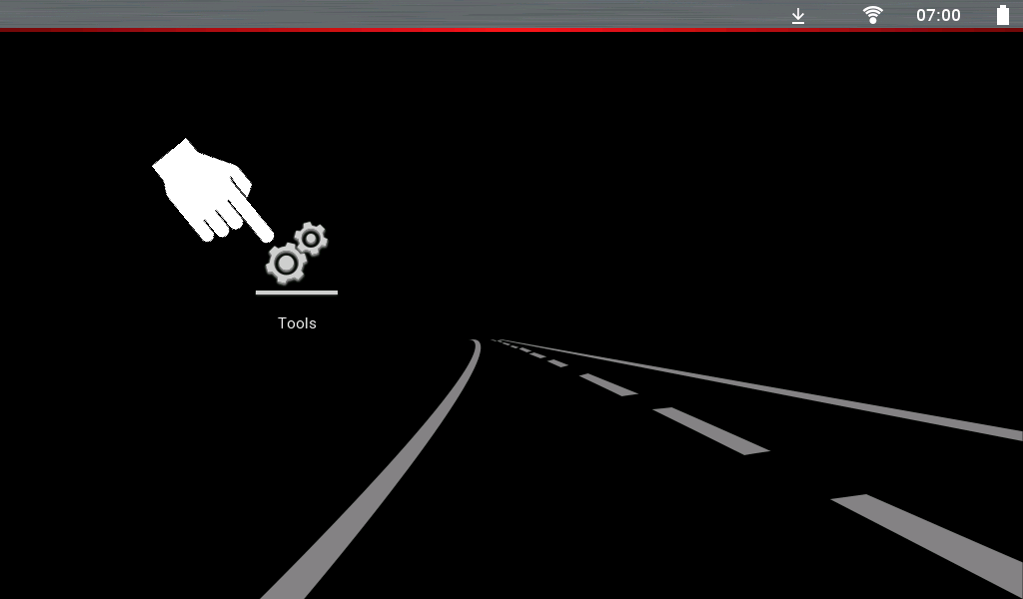
| 8. | When the screen changes, click the Tools icon. |
| 9. | If Wi-Fi was not connected previously, connect it now. Select Settings > Configure Wi-Fi, then turn Wi-Fi on and connect to your network |
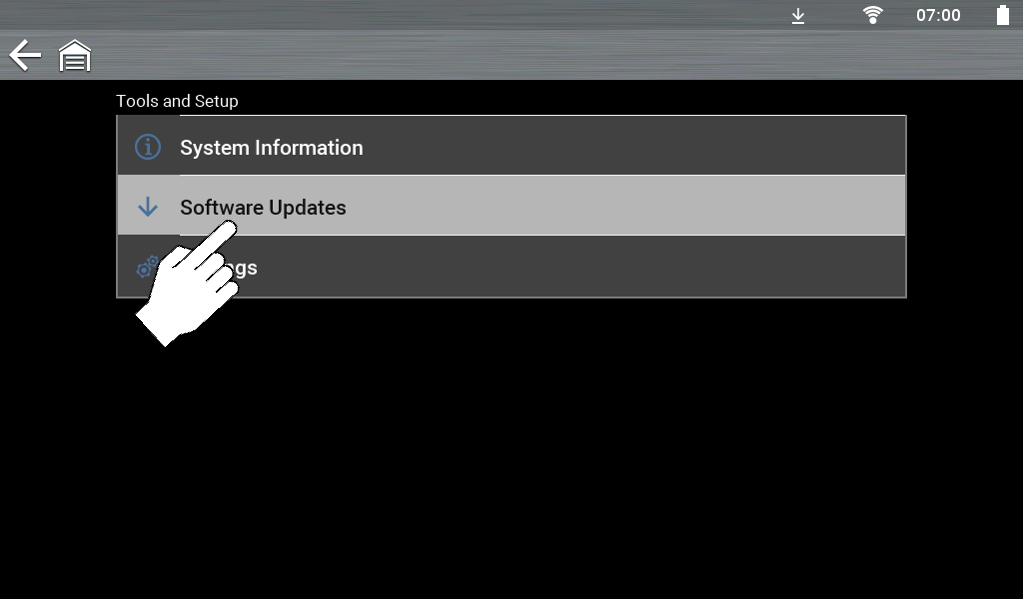
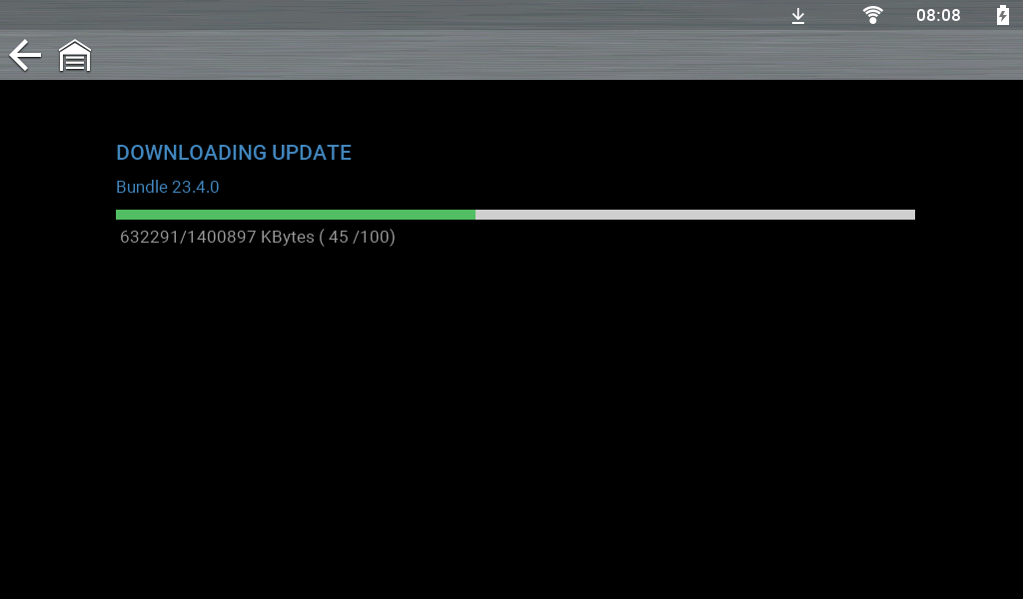
| 10. | Select Software Updates to start the software download. The down arrow on the upper toolbar indicates the software is actively downloading. |
The download may take over two hours to complete.
A progress screen displays, indicating download status.
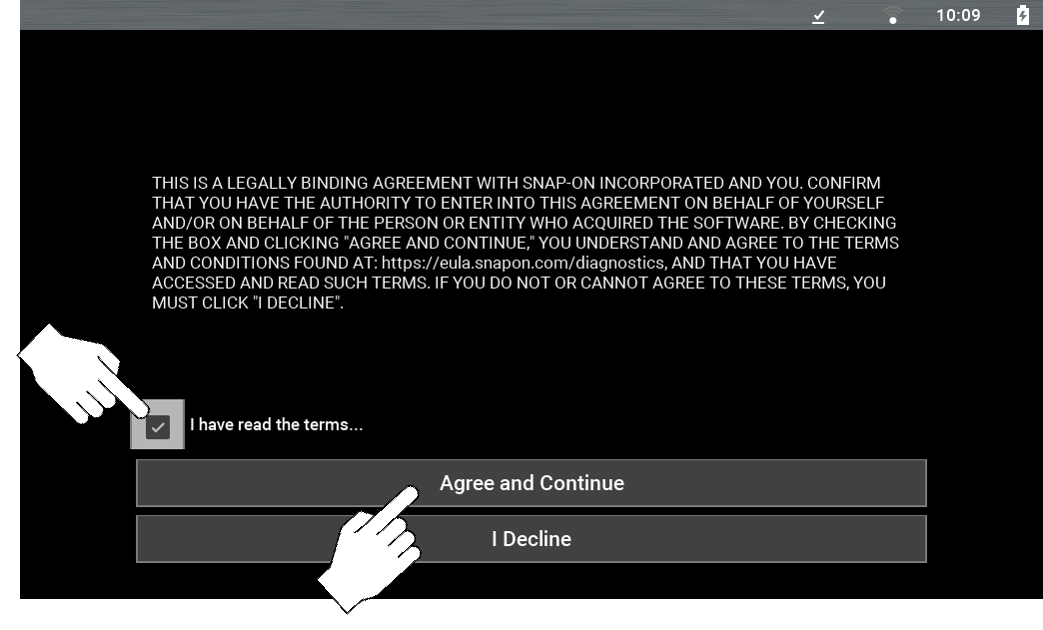
| 11. | When the installation is ready, select the check box and click Agree and Continue. |
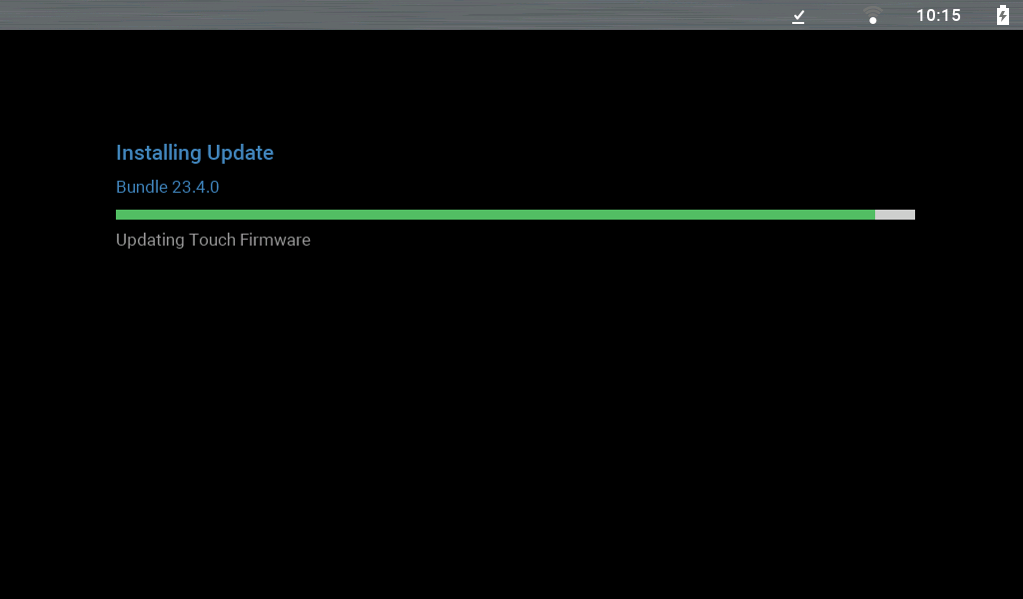
The process is almost complete at this point, under five minutes remaining to complete.
A progress screen displays, indicating installation status.
| 12. | When the installation is complete select Restart Scanner. |
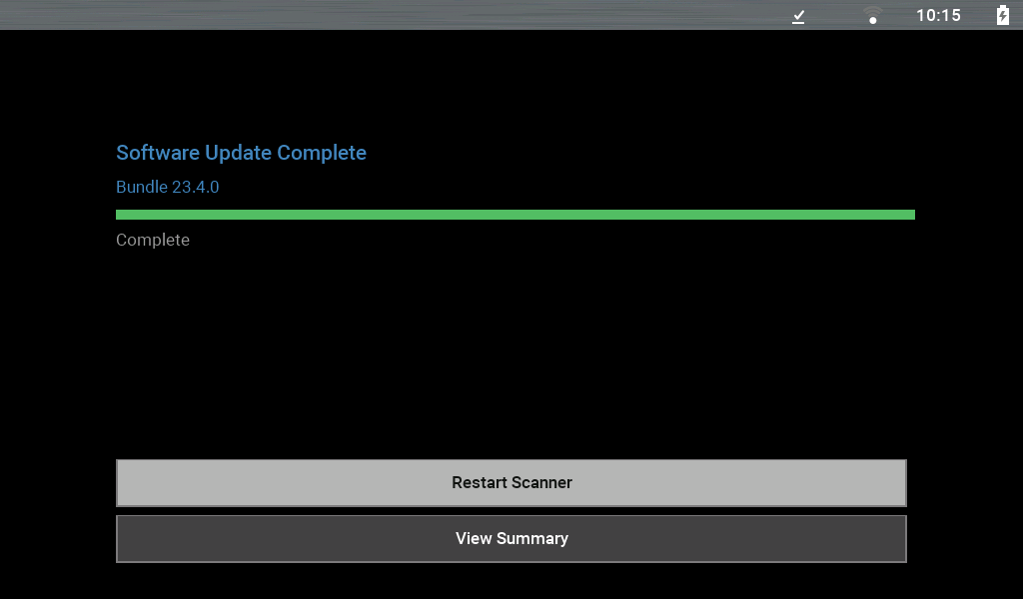
The tool software is restored and ready for use. (Typical screen shown)

Copying Data Files to External Storage
You can use File Explorer or the ShopStream Connect™ application (if installed) on your PC to copy files from the tool. These instructions describe how to use File Explorer to copy the files.
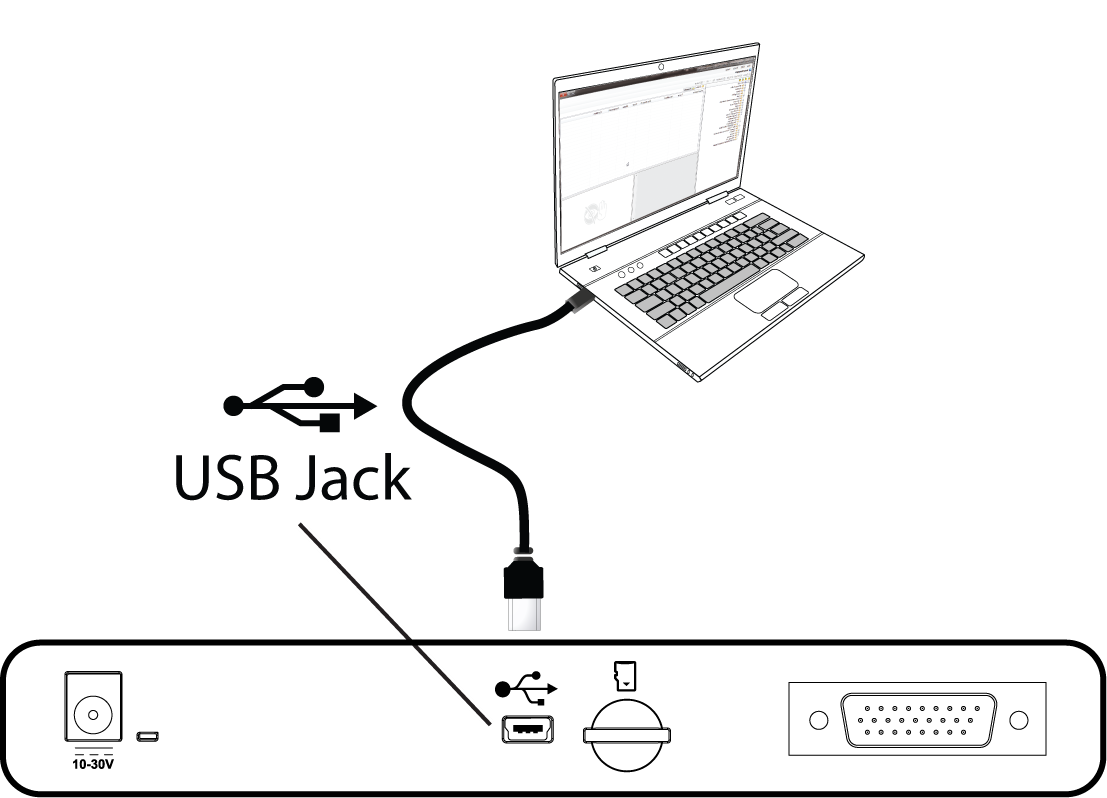
| 1. | Connect the supplied USB cable to the tool and your PC. |
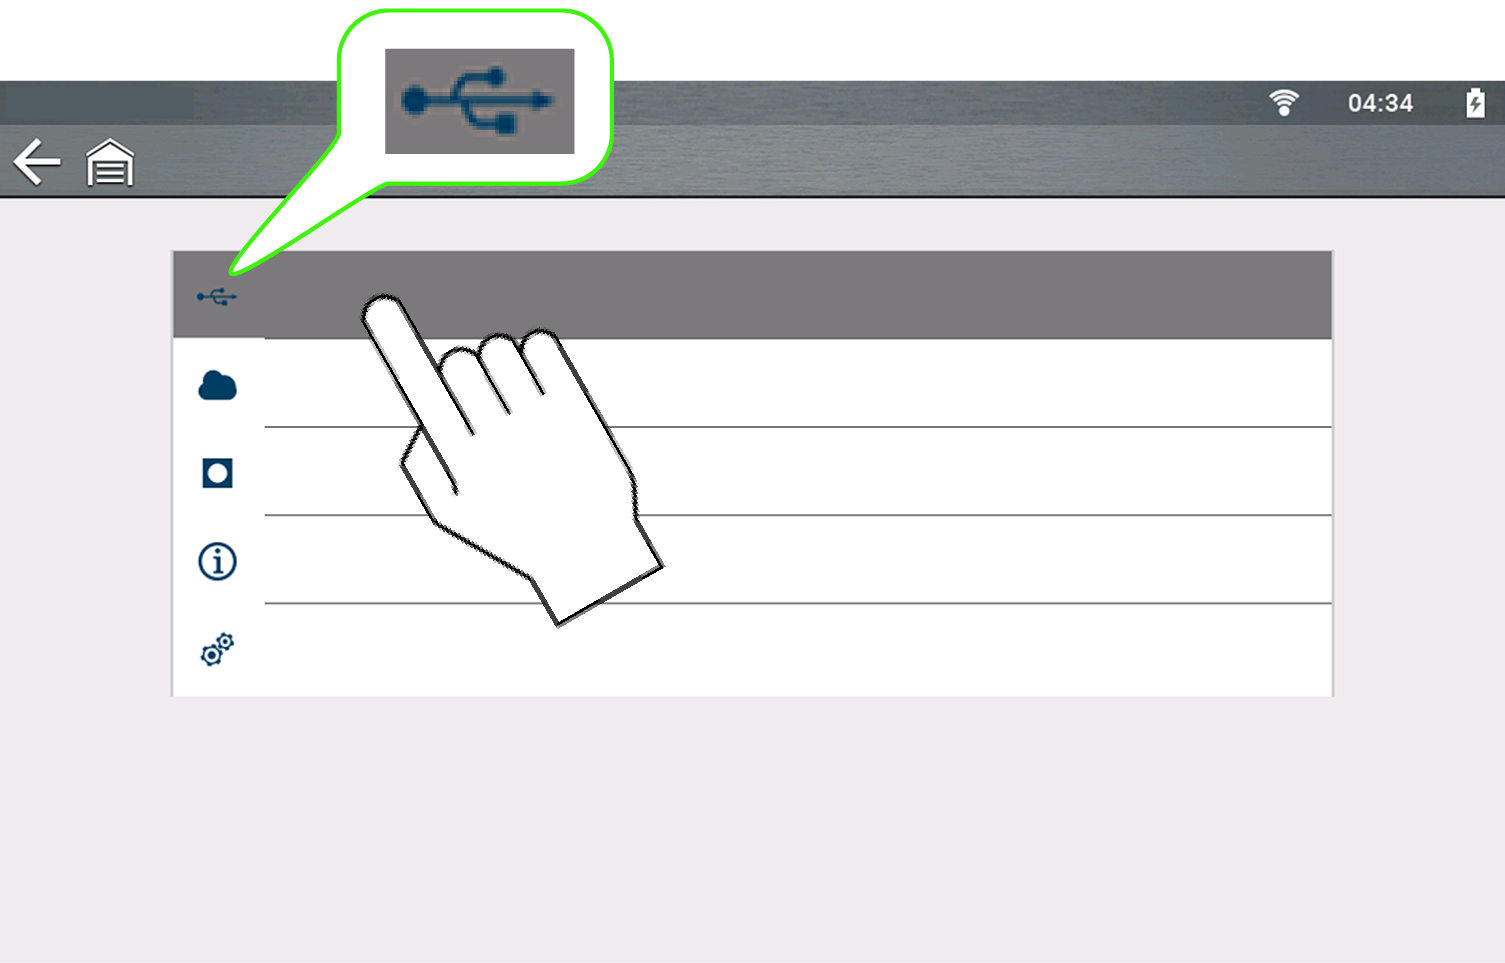
| 2. | On the tool Home screen select Tools. |

| 3. | Select Connect-to-PC. |
| 4. | On your PC open File Explorer (or equivalent) and locate your tool as a connected external device. |
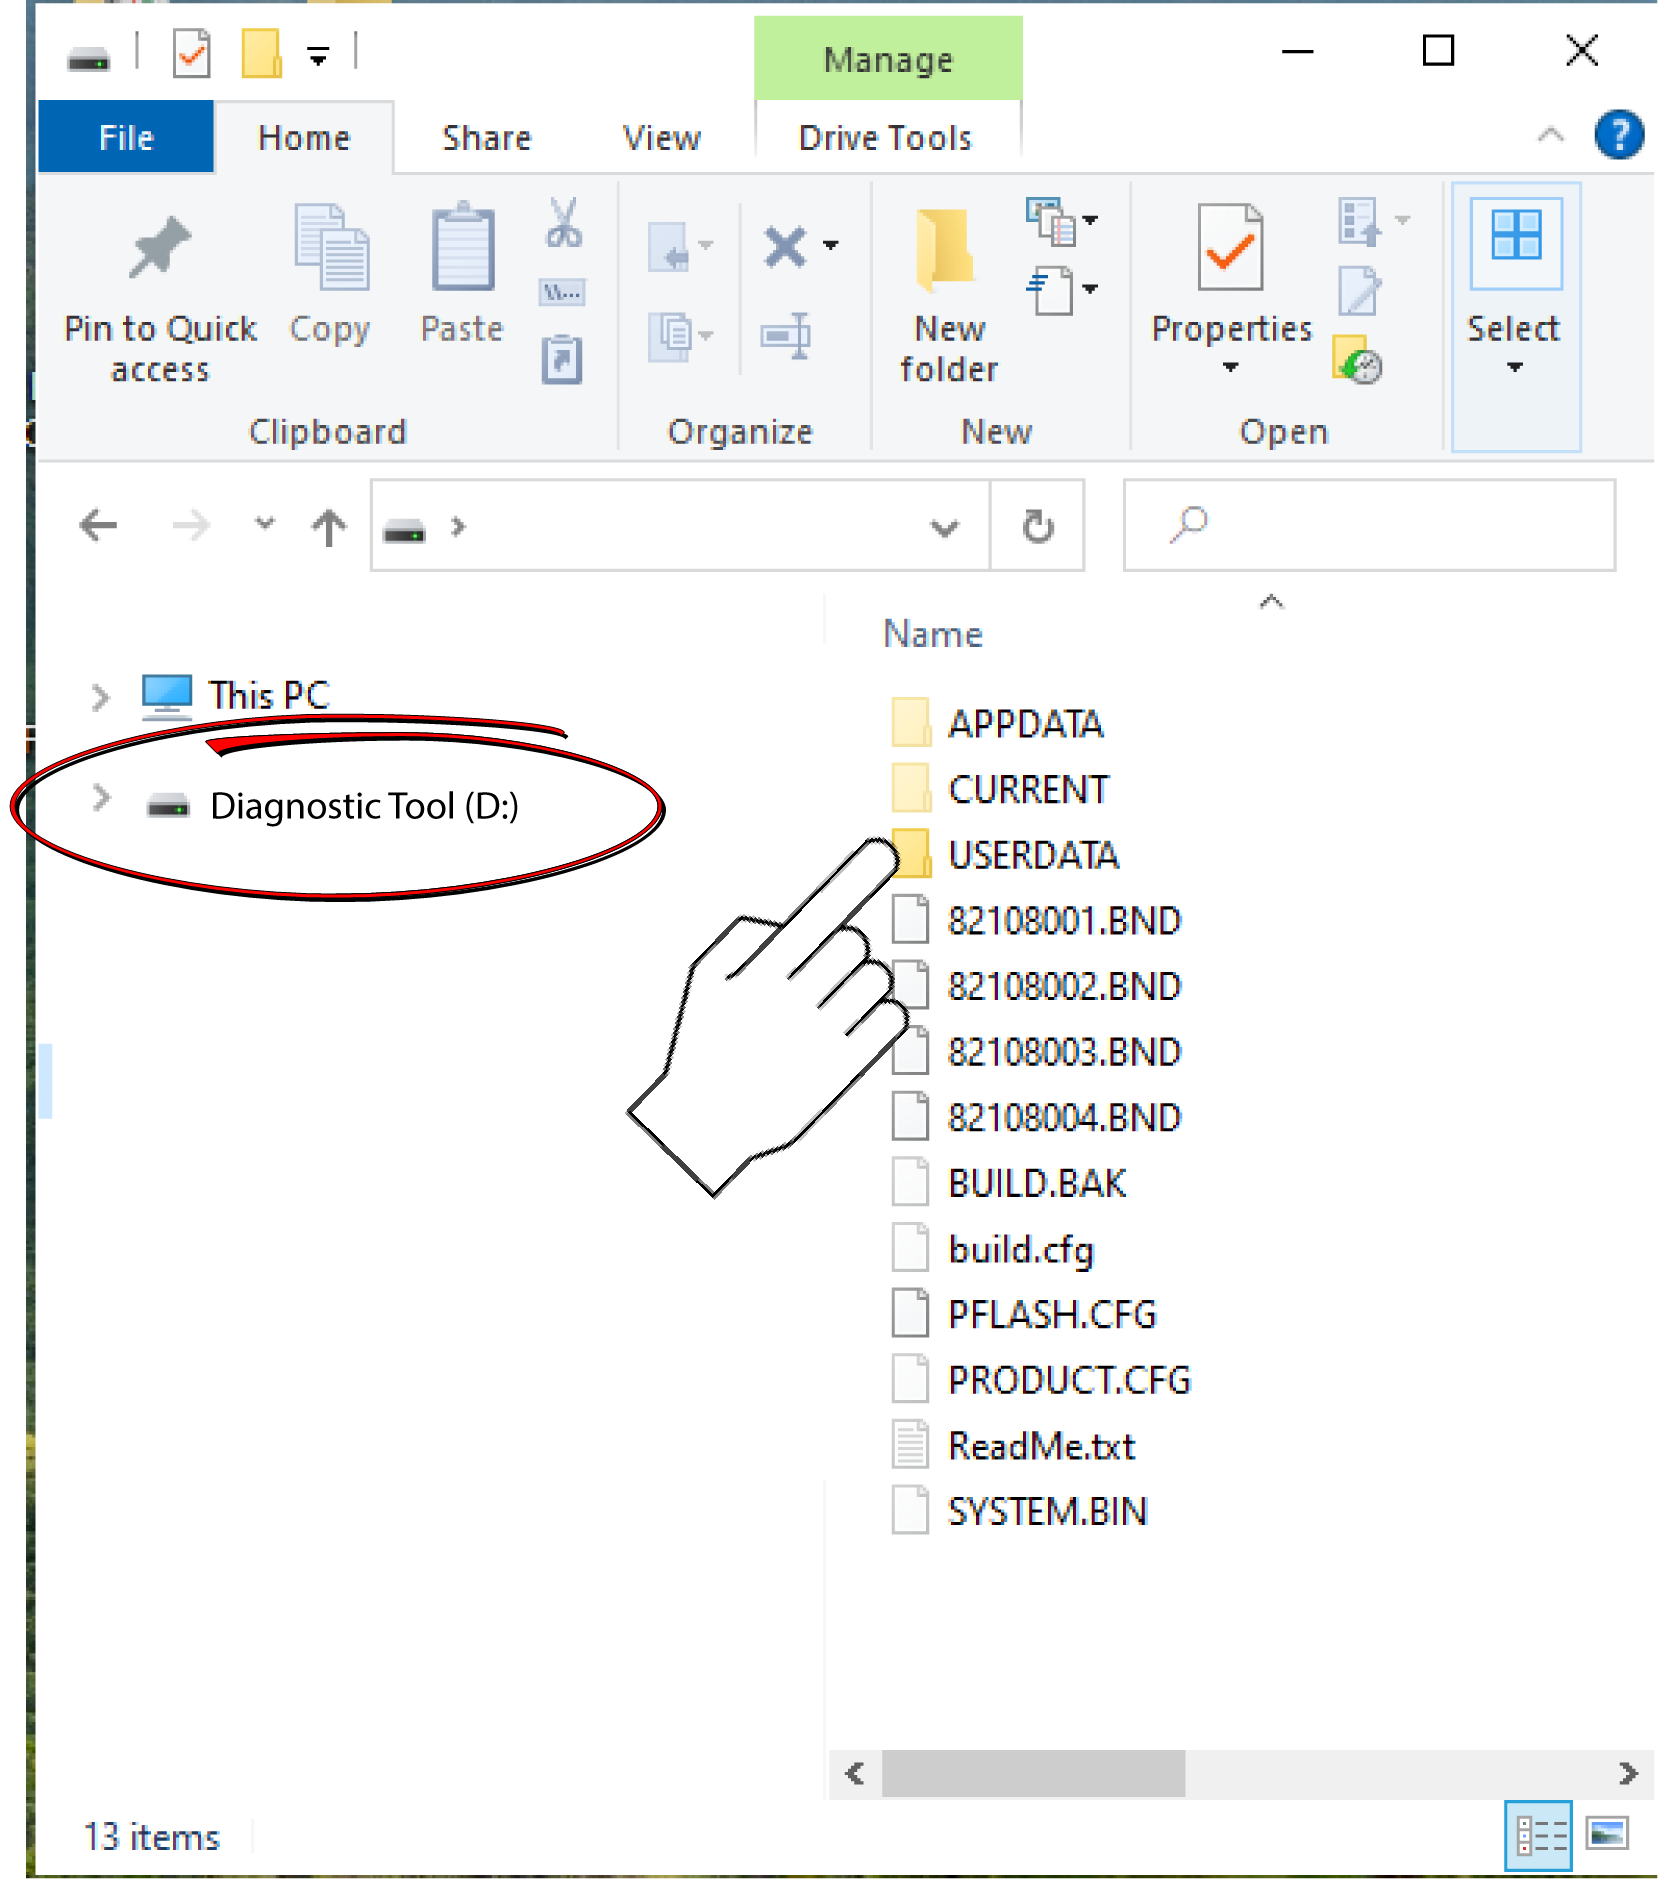
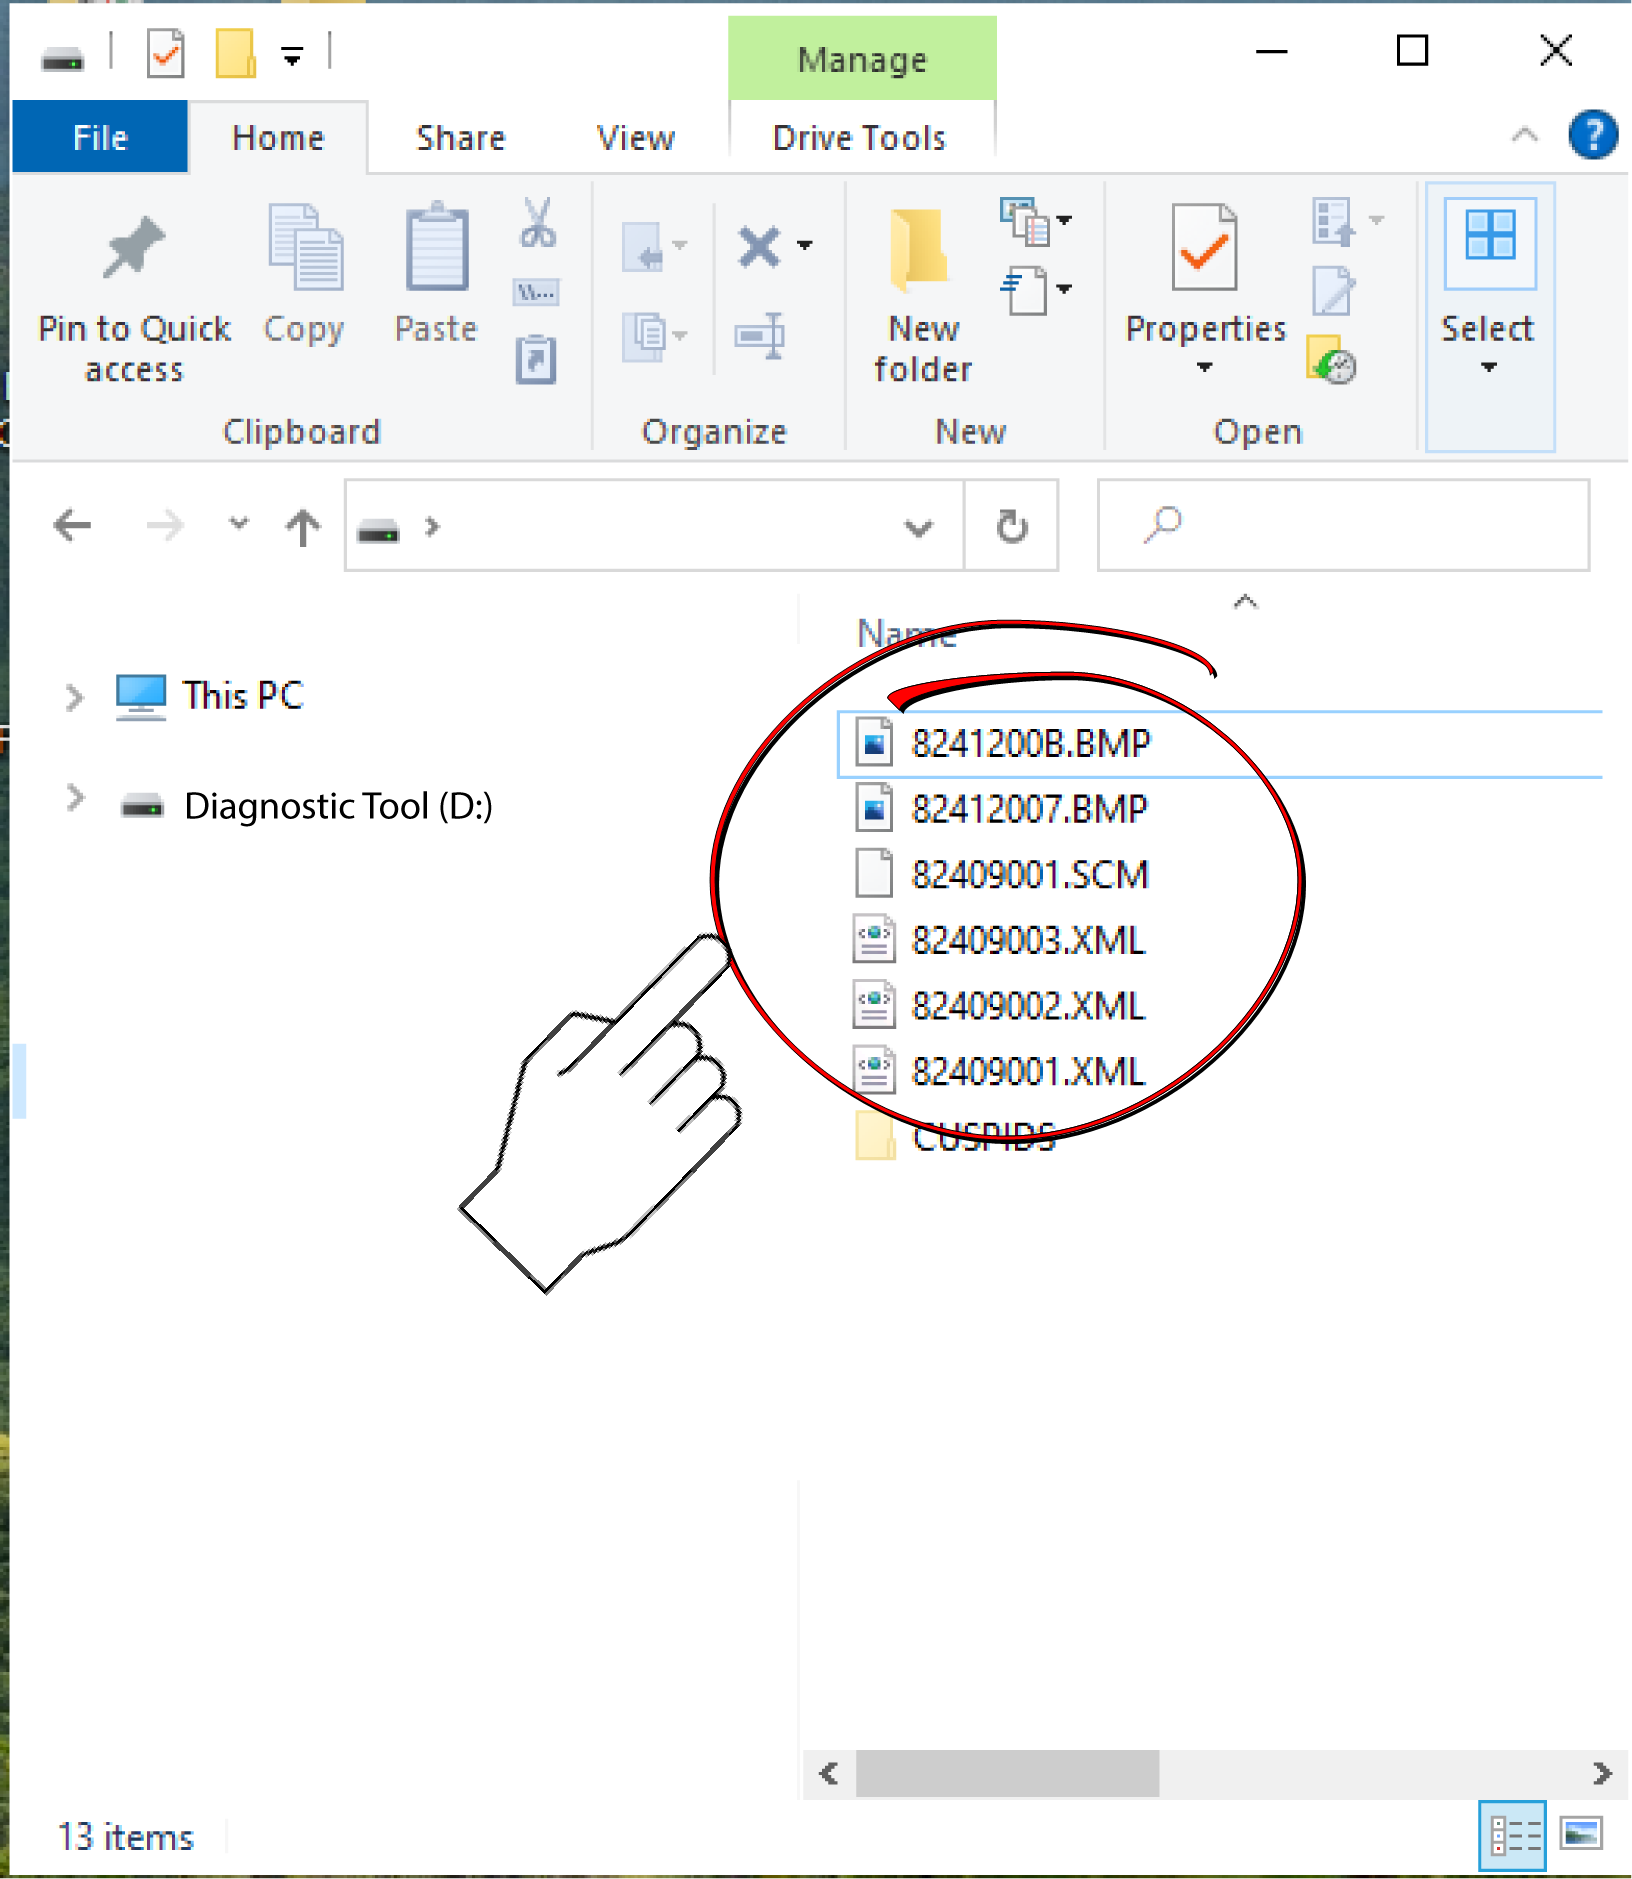
| 5. | All your saved data files are in the USERDATA folder. Open the folder to select and copy your files to your PC or other storage device. |
| 6. | When finished click Exit on the tool screen, to close the PC connection. |


